Friends, rather than selling and shipping seeds, we now share seeds as an embodied gift practice. Learn how to receive seeds from us & here are our FAQs.
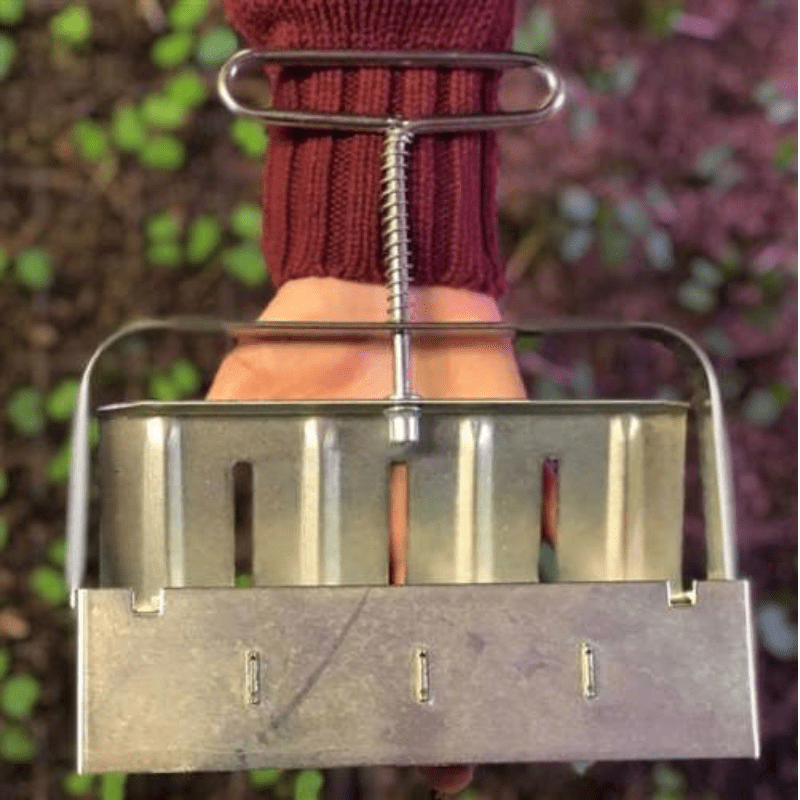
Fruition’s Soil Blocker Kit
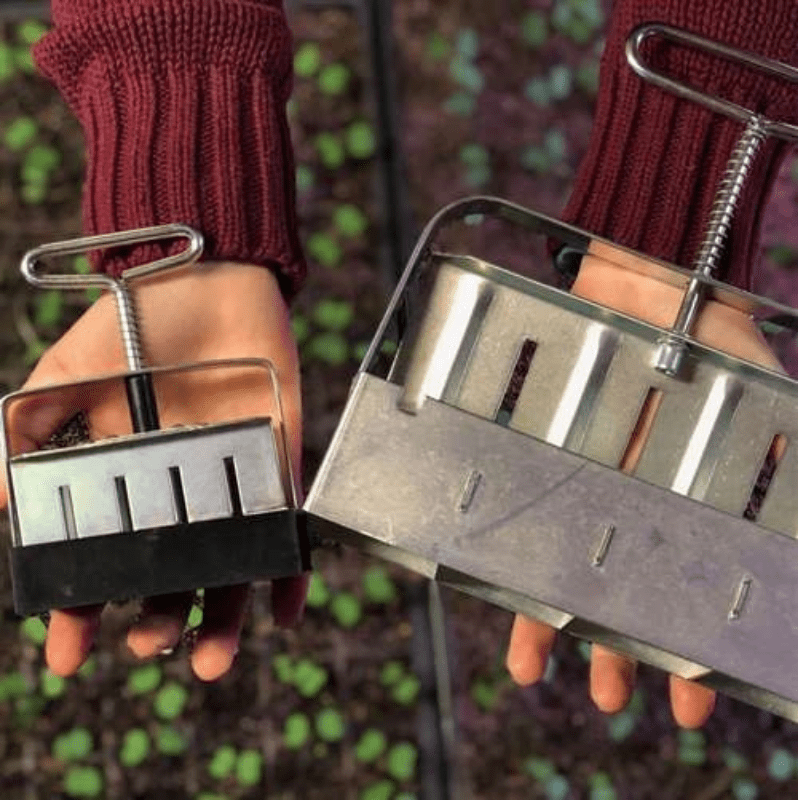
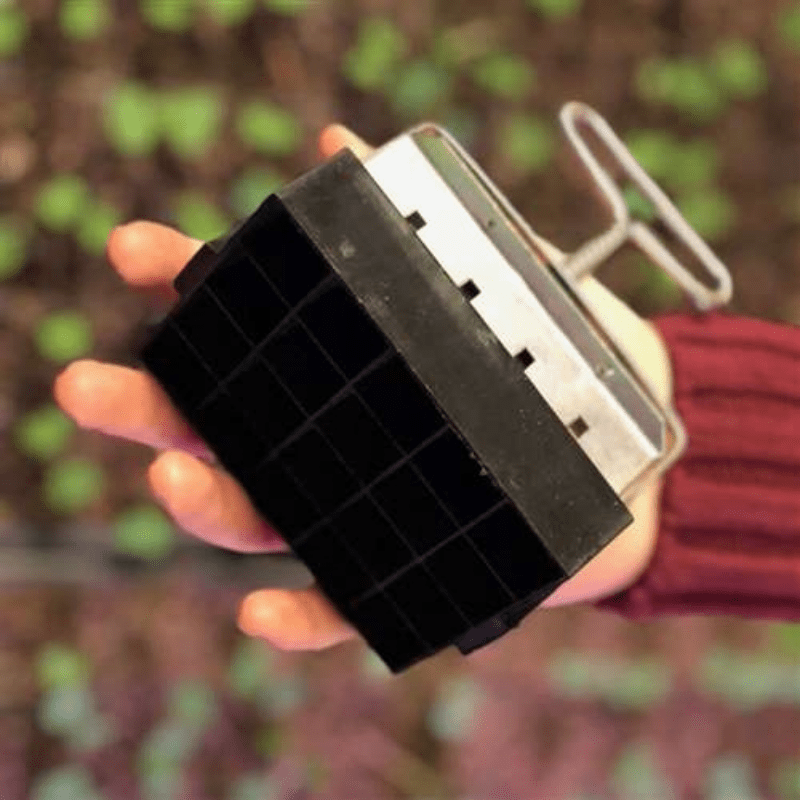
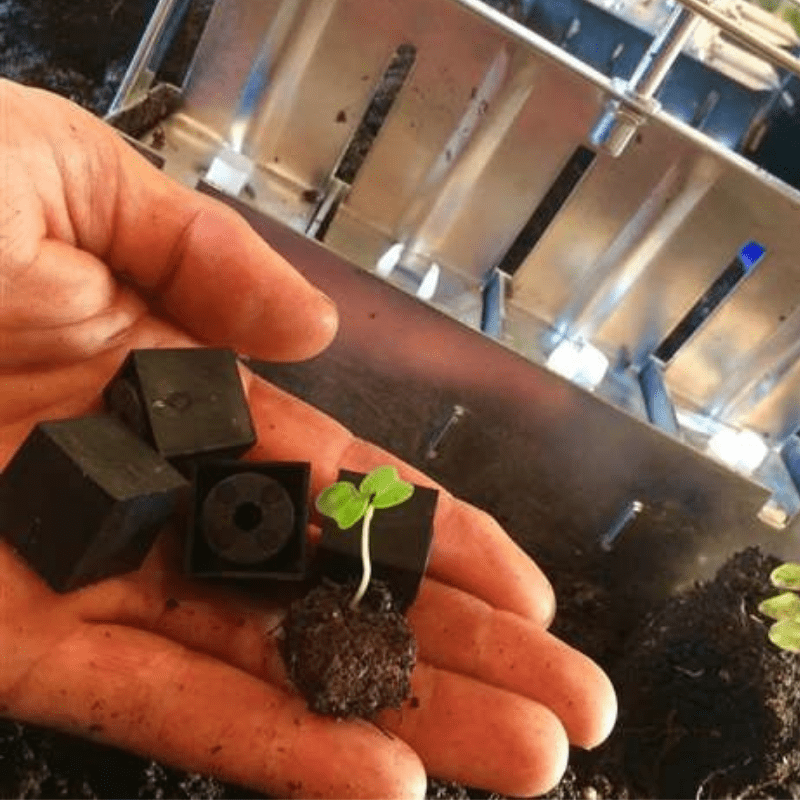
Large Soil Blocker + Mini Soil Blocker + Mini Inserts to integrate the two = soil blocking heaven!
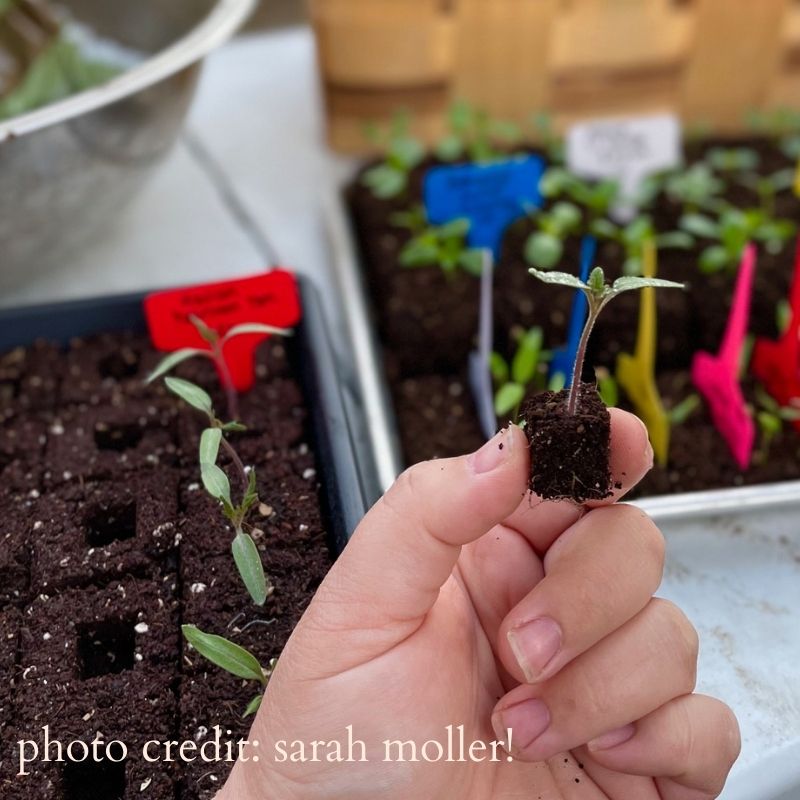
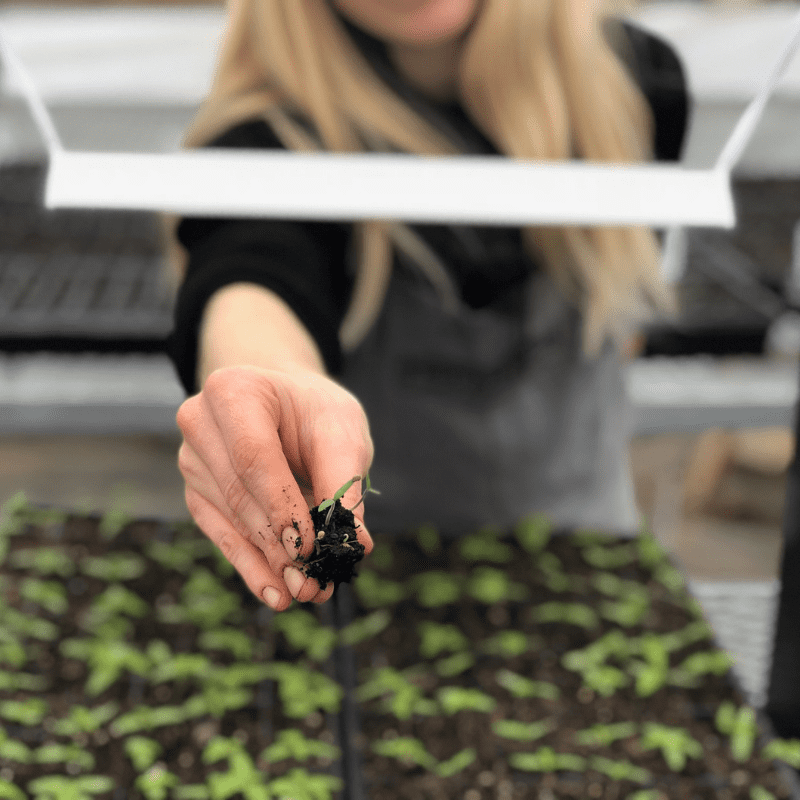
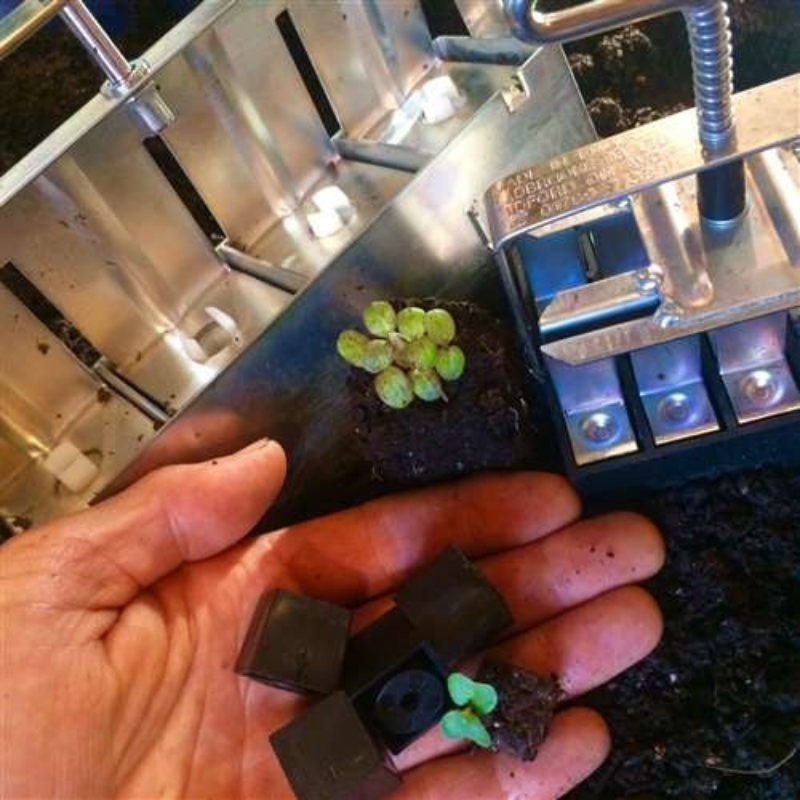
Large soil blocks are optimal for many varieties, especially larger, quick-growing seeds. Small, slow to germinate seeds are best sown in mini-blocks on a tray on a heat mat, often germinating in a fraction of the time. The mini-inserts tucked in our large soil blocker allow the mini-blocks to seamlessly pot up into the large soil blocks = brilliant!
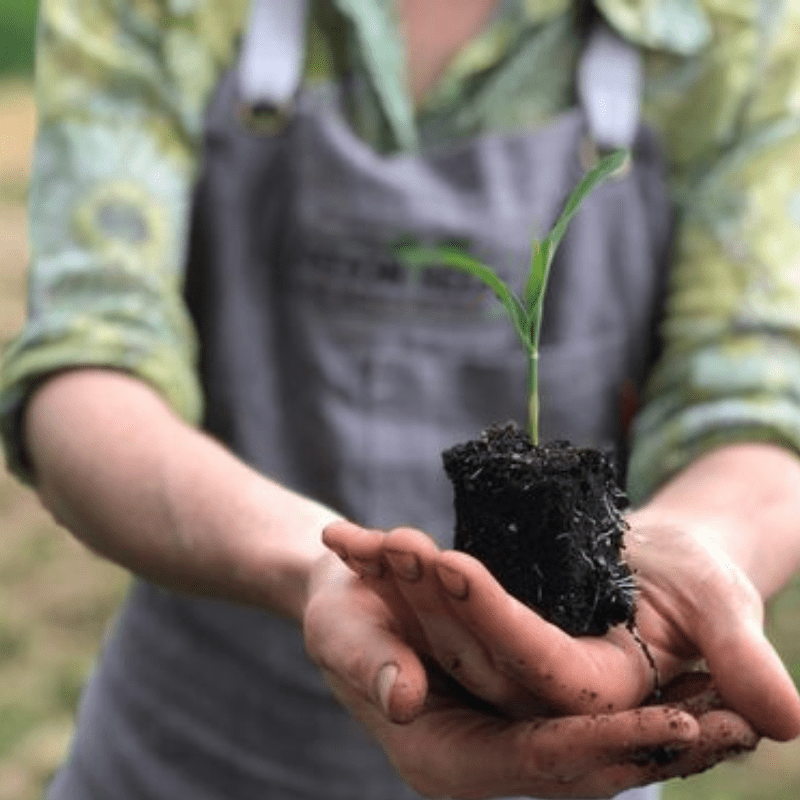
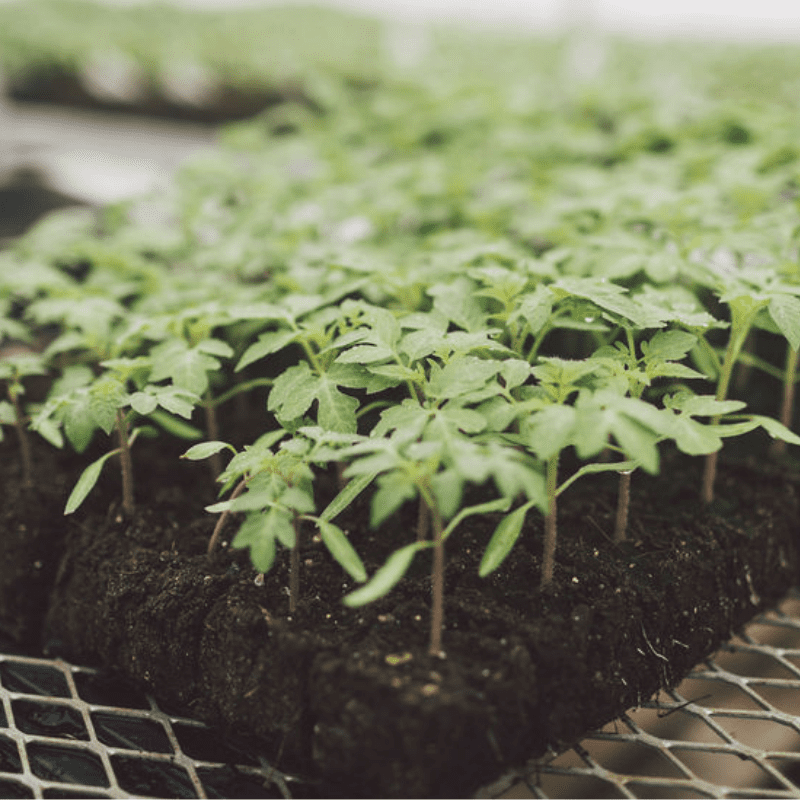
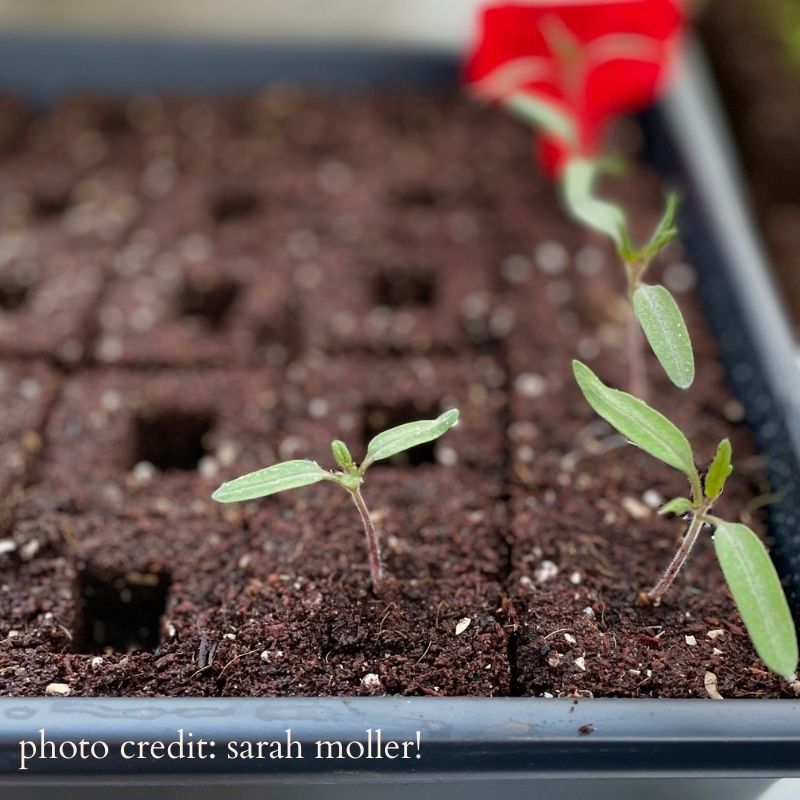
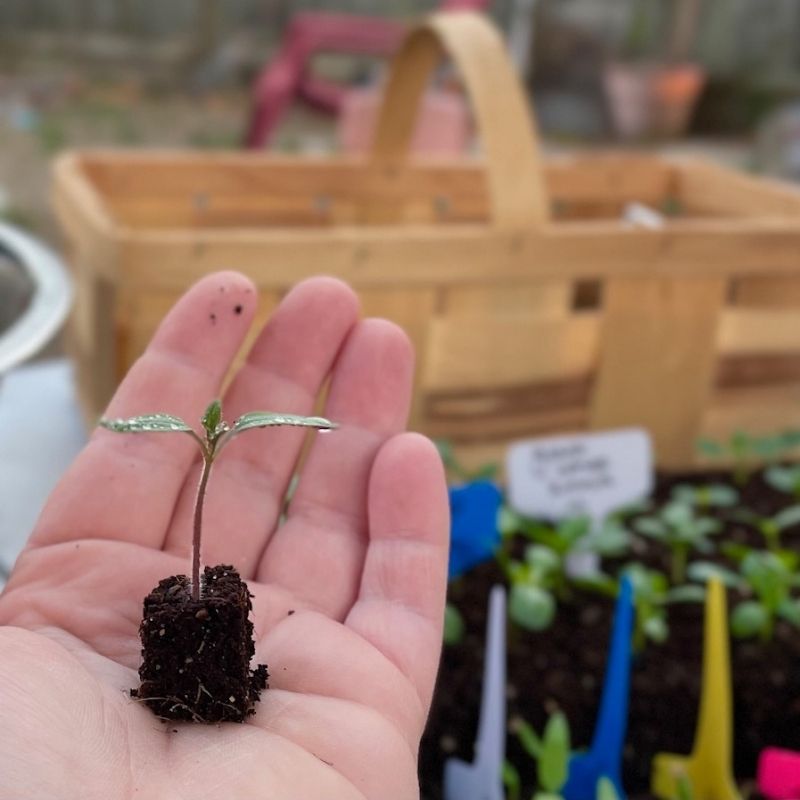
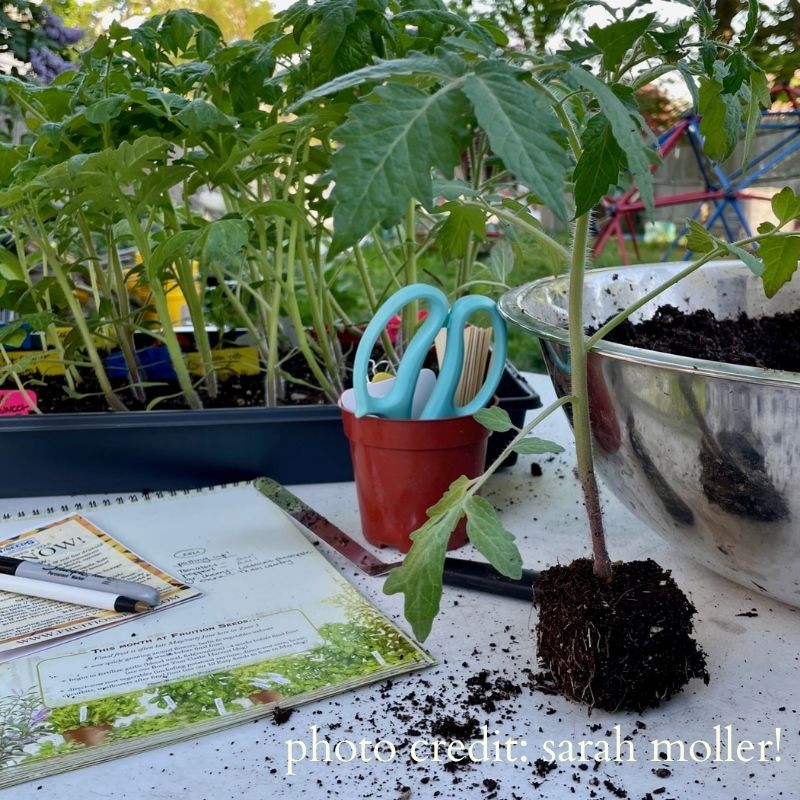
Soil blocks make seed starting easier and grow such healthier transplants. We have made soil blocks for nearly 20 years as professional growers and don’t worry, it is straightforward for the novice gardener, as well. Every seed you sow will be grateful for growing in a soil block rather than a cell or pot and here’s why: soil blocks have more soil (and thus nutrients) per volume, so each plant is bigger and healthier in impressively little time. Being constricted by plastic sides causes plants to become root-bound, but plants in soil blocks are surrounded instead by air, so the roots naturally “prune’ themselves and never become root-bound, dramatically reducing transplant shock. Not to mention, soil blocks are so fun to use and you’re reducing single-use plastics, too!
Tip: It’s tempting to pack your soil into mini-blocks so they won’t fall apart, but too dense they won’t pop out with ease and can break the spring mechanism, so be gentle as you explore and don’t force your mini-blocks to pop out. See the videos below, visit our How to Not Break Mini-Blockers blog & make sure your potting mix is more moist than you may think necessary to help your soil blocks form fully. Warm water is more comfortable than cold for you & seeds about to germinate!
If you’re a visual learner like so many of us (myself, included!), hop on over to our Soil Blocks in 5 Easy Steps blog for step-by-step written and video tutorials. Here’s the super short version:
It is marvelously simple to make your soil blocks!
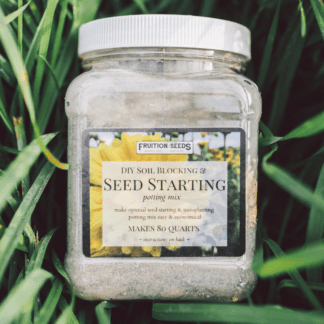
First, thoroughly moisten your potting pix (this is our mix we use at Fruition, ideal for soil blocks) with warm water (it’s so much more pleasant than cold water) and push your block maker into the mix several times, turning back and forth, until blocks are full of soil. (We often use our fingers to make sure there are no air gaps, especially at the top of each block.)
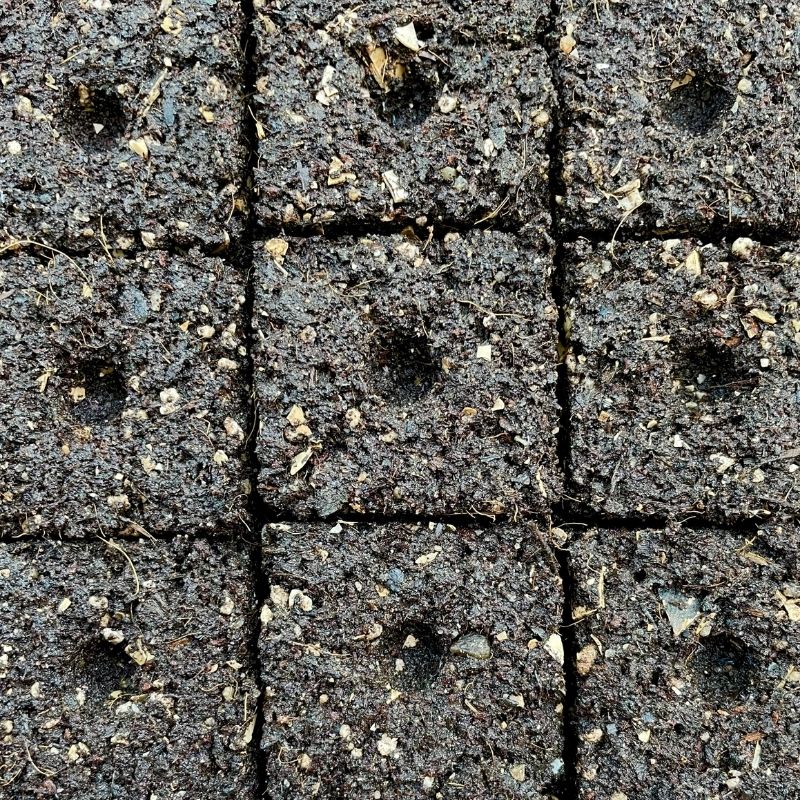
Lift the soil blocker and set into a tray, squeezing the handle to release your four gorgeous soil blocks.
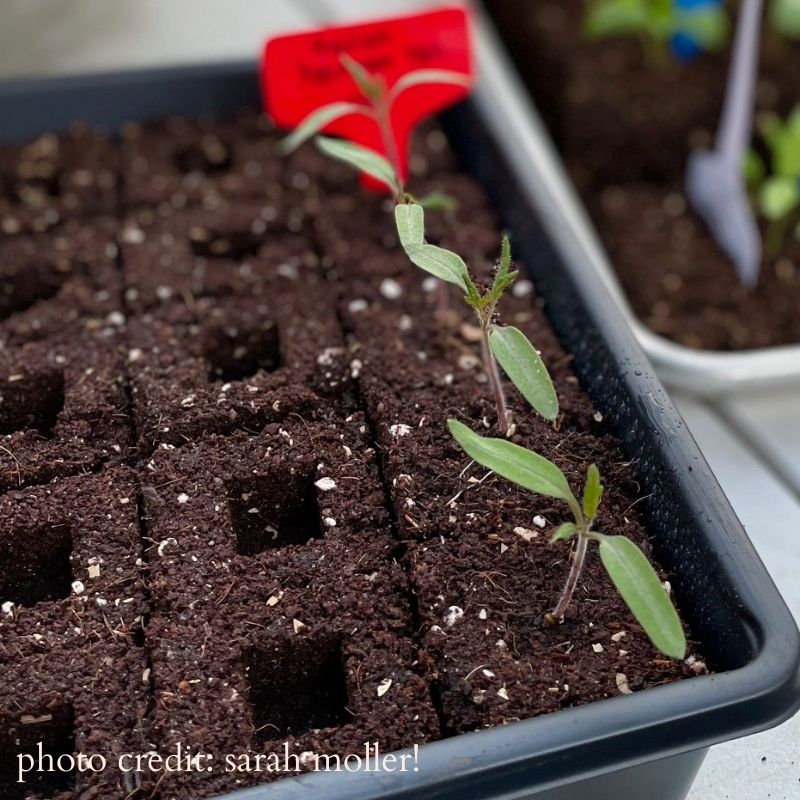
Each block has a perfect little dimple in the top, ready to be sown with seed…and if your blocks are not gorgeous (and they won’t be the very first time!), it’s easy enough to start over with a smile.

Build your skills & confidence quickly
with our online course
Starting Seeds with Ease!
Fruition’s free course shares 100+ video tutorials to surround you with abundance for seasons to come.
We look so forward to joining you on the journey!


Reviews
There are no reviews yet.