Microgreens save us each winter, making it easy to get through the darkest months with luscious greens.
Often harvested ten days after they’re sown, microgreens may be the closest thing to instant gratification in our gardens.
And Friend, hop in to Fruition’s free:
We’ve learned a lot about how to grow microgreens indoors across the years and we’re delighted to share the keys with you!
What Seeds to Sow for Microgreens
Oh, the possibilities!
Anything delicious that sprouts quick is a great choice for microgreens. More colors = more nutrients, so lean into rainbow-colored radish, purple basil, crimson amaranth and everything in between!
Here are our favorites:
- Broccoli, arugula, asian spinach, mustard & kale often sprout within 24 hours & are harvested 10 days later, not to mention they are so delicious as well as versatile.
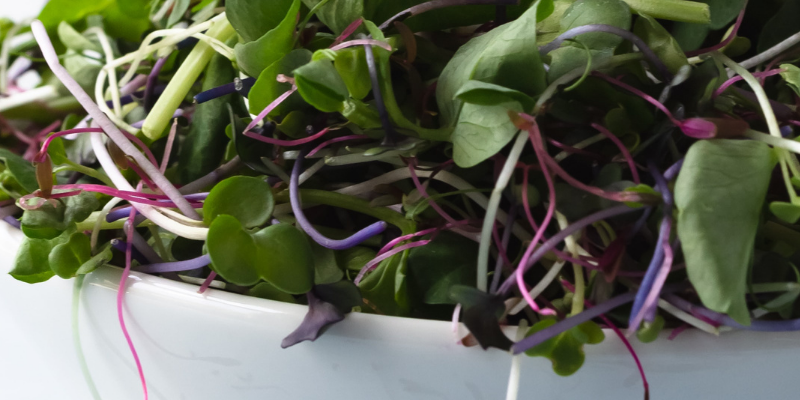
- More colors = more nutrients so revel in our confetti rainbow radish mix, purple radish seeds as well as our vivid red amaranth! Red beets often take about one week longer to harvest, but so worth it: They are just gorgeous.
- Dill and cilantro are not as quick as broccoli & other brassicaceous (isn’t that a lovely word?!) microgreens, though they are the most delicious & add so much life to our soups & curries all winter long.
- For the most massive & succulent microgreens, sow sunflower and buckwheat. Peas are incredible microgreens, too.
- Also, if you’re like us and cringe to waste anything (especially a seed!), here is some great news: growing microgreens is an easy way to use old seed without letting them go to waste. Even as germination rates may drop as seeds age, microgreens are sown so densely that it generally works out brilliantly.
How Many Days ‘Til Microgreens Harvest?
There are two general categories that microgreen seeds fall into: quick and slow. Quick microgreens are often harvested between 10 and 15 days after sowing; slow microgreens are often harvested after 18 to 26 days.
If you’re sowing more than one variety in a tray, just be sure you’re sowing a variety with similar days to maturity. We made you a quick reference list below!
How Many Seeds Sow How Many Microgreens?
From quick to slow, here are our go-to varieties! You’ll find them all on our website as well.
Arugula | quick | 1.5 ounces ~5 trays
Asian Spinach (tatsoi) | quick | 1.5 ounces sow ~5 trays
Broccoli | quick | 1.5 ounces sows ~3 trays
Kale | quick | 1.5 ounces sow ~5 trays
Mustard | quick | 1.5 ounces sow ~5 trays
Red Amaranth | quick | 1.5 ounces sow ~5 trays
Purple Radish | quick | 1.5 ounces sow ~3 trays
Confetti Radish Mix | quick | 1.5 ounces sow ~3 trays
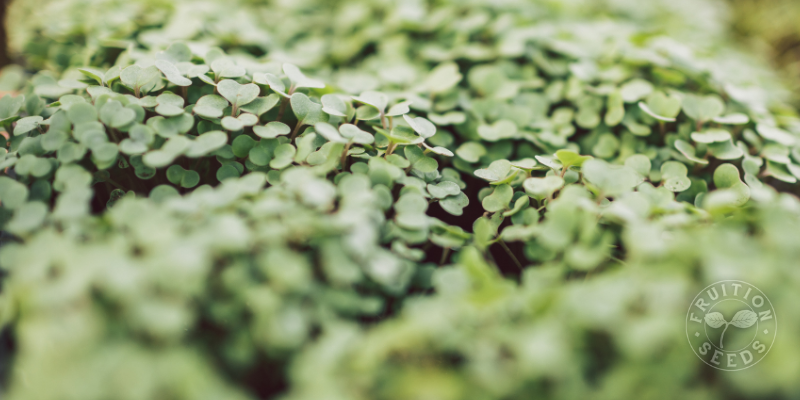
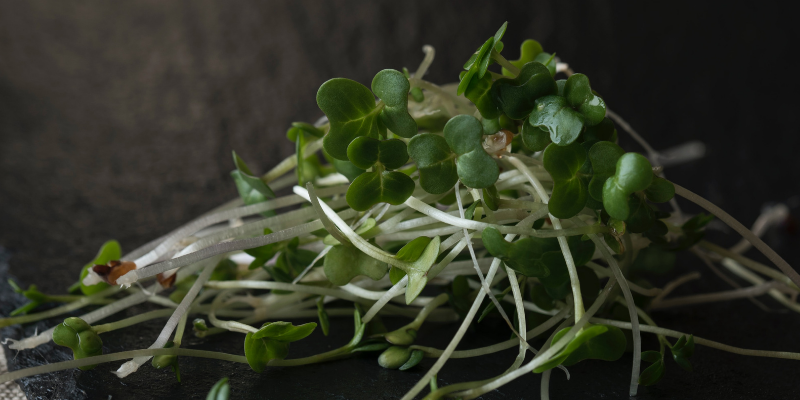
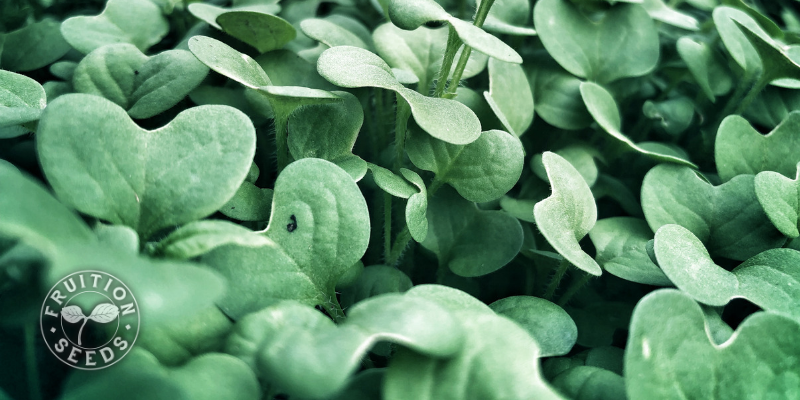
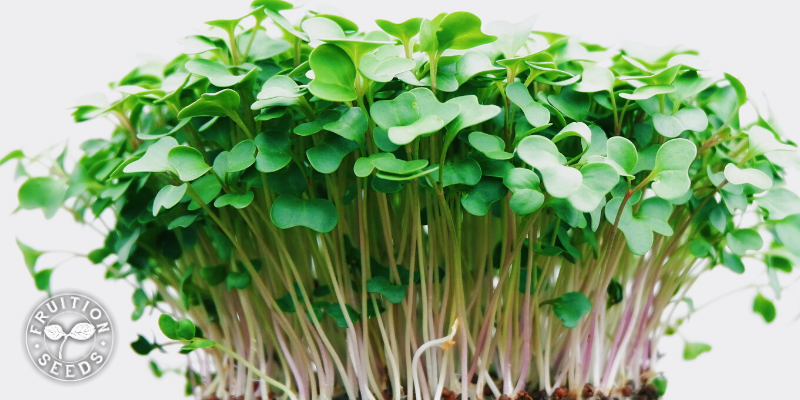
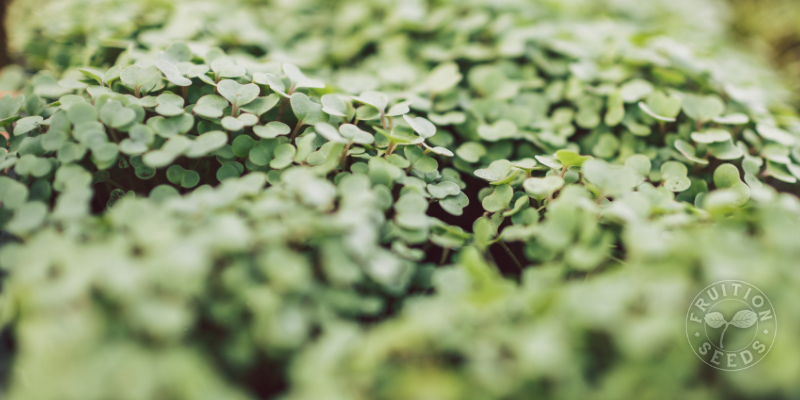
Quick microgreens like the broccoli above are often harvested between 10 and 15 days after sowing; slow microgreens are often harvested after 18 to 26 days.
Basil | slow | 1.5 ounces sow ~5 trays
Red Beet | slow | 1.5 ounces sow ~3 trays
Buckwheat | slow | 1.5 ounces sow ~3 trays
Cilantro | slow | 1.5 ounces sow ~3 Trays
Dill | slow | 1.5 ounces sow ~ 3 trays
Black Oil Sunflower | slow | 2 ounces sow ~2 trays
Note! Virtually any garden seed in the brassica family will grow a fine microgreen, including collards, kohlrabi, Chinese cabbage, pac choi, brussels sprouts, cauliflower and anything else you may have on-hand.
Also, note! Lettuce and spinach grow remarkably unsatisfying microgreens. Having relatively broad cotyledons, those first leaves emerging before the ‘true’ leaves, is what makes microgreens magic. Lettuce has small, unimpressive cotyledons and spinach has long, narrow cotyledons; by all means, give them a try yourself! I suspect you’ll find the brassicas to be the backbone of your microgreens mania.
What to Grow Microgreens In
Again, you’ve got options.
Basically, any container that holds at least a half-inch of potting mix will do the trick!
Drainage is important. It’s essential if you’re getting serious about production. If you just want to experiment and play, just make sure the mix is moist when you sow and resist the urge to water it until the soil is bone-dry. You’ll likely be just fine
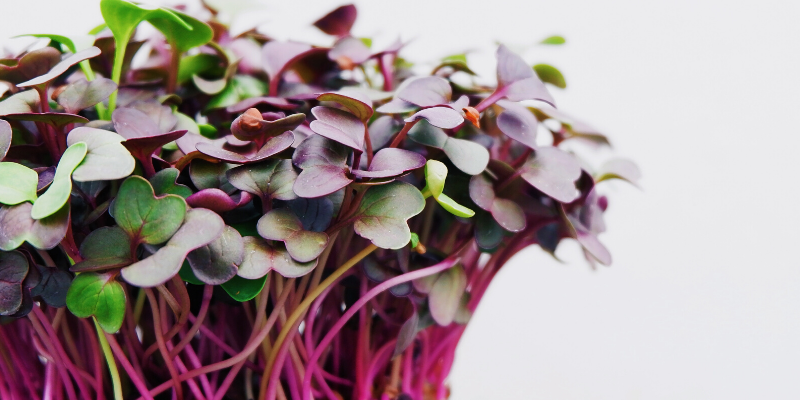
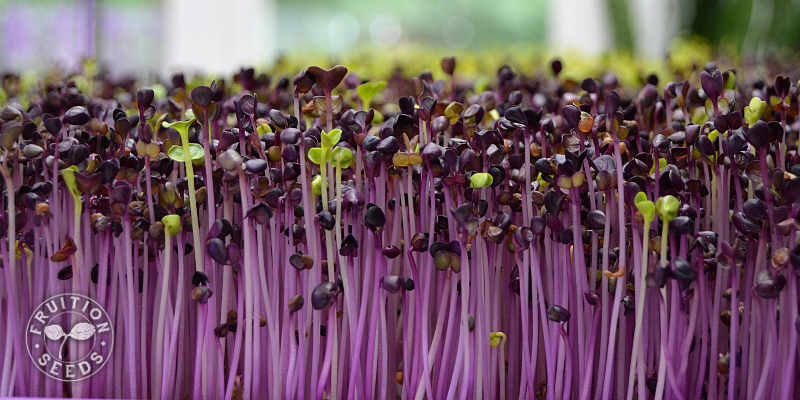
Woah! Have you ever seen purple radish like this, before?!!
We grow in seedling trays — two nested seedling trays. The upper tray holds the potting mix and grows the microgreens, with holes on the bottom to provide drainage. The bottom tray does not have holes and prevents excess water from making a mess of your kitchen!
Keep in mind your microgreens hardly need any potting mix to grow in, so shallow containers are often better choices than deep containers. We share our go-to microgreen trays in our Microgreens Made Easy Collection.
Soil for Microgreens
Rather than garden soil, microgreens are best grown in potting mix, since it is ideal for sprouting seeds. Which is basically what microgreens are: an elongated sprout!
Friends, virtually any potting mix will do. Most potting mixes are a growing medium rather than a source of rich nutrition, which is important to consider when growing 4+ week old seedlings. Microgreens, by contrast, are seven to ten days old and are barely accessing nutrients from the soil in that time. That being said, microgreens won’t thrive simply in a sterile growing medium (like coconut coir) and they struggle in pure peat moss (which is so acidic), so you want to get some kind of bona fide potting mix.
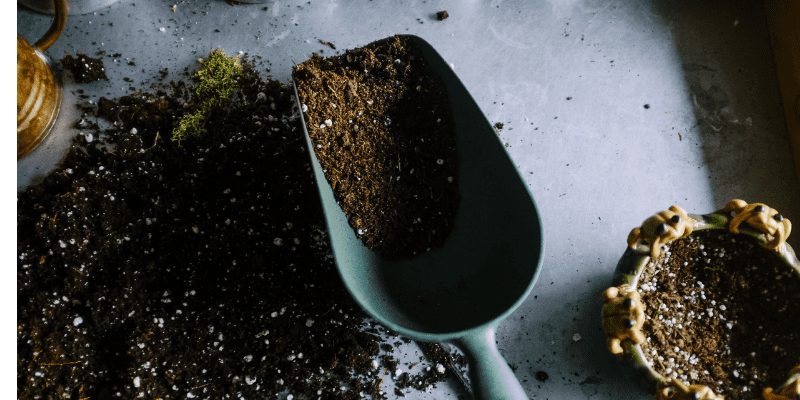
Microgreens grow well in a wide variety of potting mixes, since they need very little fertility.
We grow our microgreens in the organic potting mix we use for all of our seedlings — it’s richer than necessary but they grow impressively well. Our mix is light enough for them to germinate quickly and nutrient-dense with compost and worm castings, bringing out the flavors of each variety and helping them be as tender as possible. We share 20 quarts of our organic potting mix in our Microgreens Made Easy Collection.
Before you sow, moisten the potting mix so it’s damp but not dripping when you squeeze a handful of moistened mix. Because watering may displace some soil and seeds, we do everything we can to avoid watering in the first place. The quick-growing nature of microgreens makes this easier than you might think!
Growing Microgreens Indoors
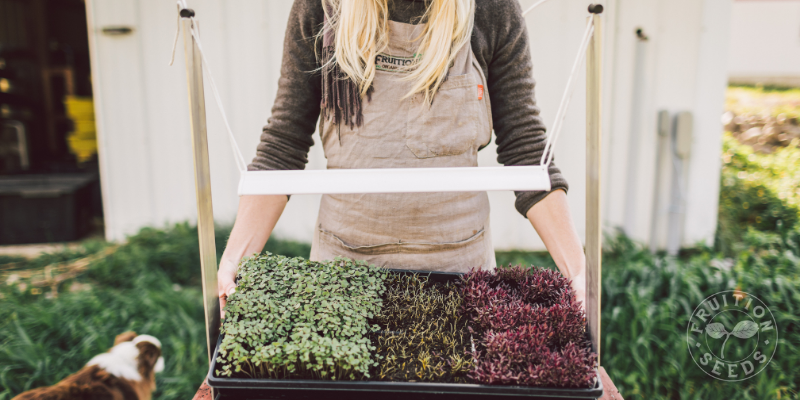
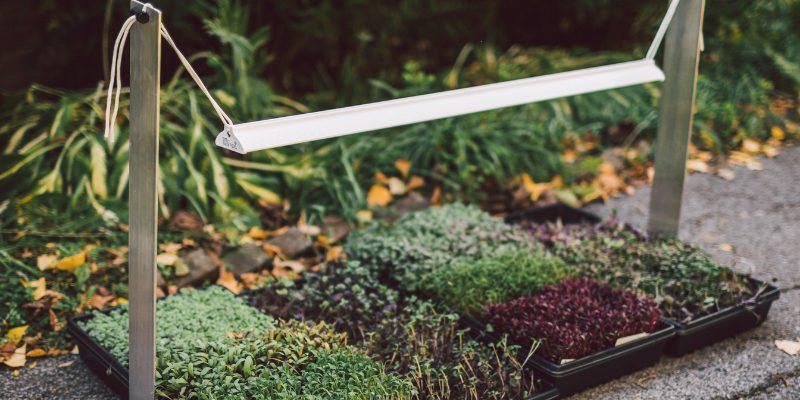
Microgreens grow easily indoors, even in winter. They’ll struggle but be harvestable beside a south-facing window; more light grows more tender, flavorful & easy to harvest microgreens. The longest, straightest and fastest-growing microgreens are grown under lights; we grow three trays at a time under one of our 17″ LED lights.
It’s true: If you only have access to windows, even those south-facing, you’re better off growing sprouts (that truly can thrive in less than optimal light) rather than microgreens. Up to three trays of microgreens can thrive under one 17″ light. We also share 33″ LED lights (above!) that grow up to six trays of gorgeous microgreens.
We love the lights in April and May for our garden seedlings and we’ll enjoy microgreens grown under them for the rest of the winter.
Our friend Vic makes our 17″ and 33″ LED lights and we love them for seed starting in April and May as well as growing many trays of microgreens under them for the rest of the winter!
Without a great light, your microgreens will likely lean toward the window rather than growing straight up. This isn’t the end of the world, but it certainly makes them harder to cut and less productive, overall.
Your goal with microgreens is for the seeds to germinate at once and grow as quick as possible so you can harvest the longest, straightest microgreens as possible. Growing them under a great light is an easy way to ensure they’re growing straight, strong and full of flavor. When we grow three trays under our 17″ LED lights, we’re rotating them every day so none of them get leggy and bend. If you only grow two trays, rotating them is unnecessary.
The longest, straightest & fastest-growing microgreens are grown indoors under lights. Here is the one we use for both microgreens and seed starting!
Growing Microgreens Outdoors
Though microgreens are generally grown indoors, you can grow them outdoors, as well. Full sun is essential for straight microgreens. Temps above 70 F make it easy to grow any seed as microgreens. If the temps are consistently below the low 60s, focus on growing the little round seeds of the brassica family (arugula, broccoli and kale are my favorites) since they’ll germinate and grow faster in cooler temps.
How to Sow Microgreens
Densely!
But first, I love to make the top of the seedbed as flat as I can without compacting the soil, so they all can emerge uniformly with ease.
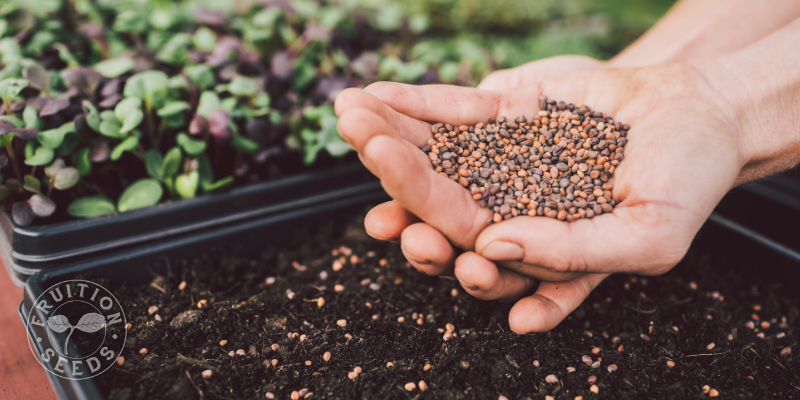
Next, I sprinkle seeds, leaving the approximate width of the seed between seeds. For tiny seeds, like brassicas, there is very little space between seeds; for larger seeds, like sunflowers, there is more space, though it’s all relative. If some are closer than others, I leave them. Gardening is not an exercise in perfection for me and neither are microgreens! Feel free to manage and micromanage (!) as brings you joy, learning and sharing as you go
Once my seeds are sown, I add just enough soil to cover the seeds, tamping them down ever so slightly. This seed to soil contact is critical for quick, consistent germination. Remember to moisten your soil ahead of time, so you’re not tempted to displace soil and seeds as you water them.
One thing I learned the hard way: Since some seeds germinate and grow faster than others, planting a single variety in a given container makes harvest much more simple. It’s tempting to grow a row of basil next to a row of kale next to a row of beets all in the same tray, but I suspect you’ll find it easier to sow them in separate containers so you can harvest them at their peak, which will not be all at the same time
Seeds for microgreens are sown densely, but this is too dense. Keeping a seeds’ distance away from the next seed is a good rule of thumb, from tiny brassicas (like the purple cabbage above) to large sunflowers.
Watering Microgreens
Watering your microgreens, especially before germination, can easily displace your soil and seeds, so we do everything we can to avoid watering in the first place. The quick-growing nature of microgreens makes this easier than you might think!
The key is to simply moisten your soil ahead of time. Your goal is for the soil to be thoroughly damp but not dripping when you squeeze a handful of moistened mix.
How to Harvest Microgreens
With scissors!
We have a friend who grows thousands of trays each season and they use electric beard trimmers (!) but most sincerely, find yourself a sharp pair of scissors and you’re so set.
Holding the top leaves of your microgreens, simply snip the base of their stems, as close to the soil as you can with ease. From there, I toss the microgreens directly on a salad, sandwich or anything else I’m about to enjoy! They quickly wilt and lose their loveliness, so we snip them fresh every time.
Harvest microgreens as close to the soil as you can to maximize your harvest.
We find it’s easiest to harvest microgreens when the container has been sown to a single seed type — all kale or all dill, for example. Each seed type germinates and grows at a different rate, so planting a single variety in a given container makes harvest more simple.
Growing Microgreens vs Baby Greens
People often ask us if microgreens will grow back and, alas, the answer is no. Microgreens are essentially ‘baby’ baby greens and once you cut them, there’s no turning back.
“Cut and come again” baby greens are different. They take two to three times the time to grow, they’re four times the size and, when cut carefully above the apical bud of their growth point, they easily re-grow.
We prefer to grow microgreens rather than baby greens in the winter, they just seem to be happier and healthier, especially without supplemental light.
Microgreens are a fraction of the size (they’re the baby of the baby greens!) and grow in a fraction of the time of baby greens. When you cut them to the base of the stem, you’re removing their apical bud, eliminating any chance of them growing back.
Can you let microgreens grow into baby greens?
It’s unrealistic simply because you’ve sown them so dense — which is optimal for microgreens — but way too crowded for baby greens who need more space to grow well.
Happy Sowing!
Happy Harvesting!
Microgreens bring us so much joy in the coldest months
and I hope what we’ve learned will surround you with delectable abundance this winter!
Sow Seeds & Sing Songs,

and the Many Beings of Fruition
ps
If you’re hungry for more, hop on over to our free
Microgreens Made Easy Micro-Course
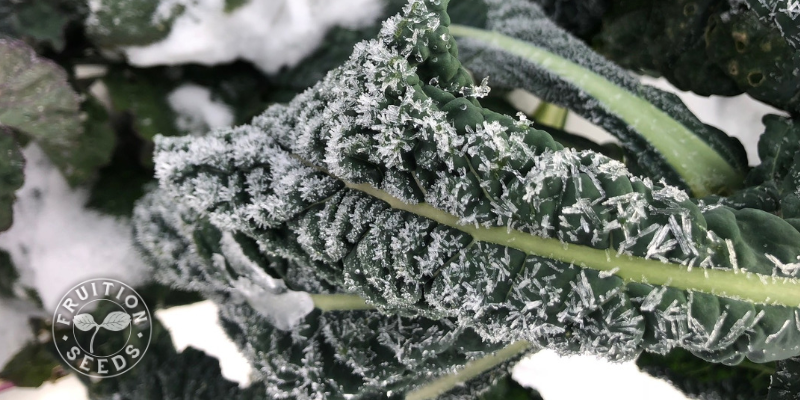
We eat lots of greens from our gardens in the winter too, though they largely look like this!

